HP printers are known for their exceptional performance, but at times, you might encounter issues with black ink printing. Whether it’s faded prints, streaks, or missing text, this guide offers detailed solutions to help you get your HP printer back to producing crisp, clear black prints if your HP printer not printing black correctly.
1. Check Ink Levels and Cartridges
Before delving into more complex solutions, ensure that your black ink cartridge is not empty. Follow these steps:
- Step 1: Go to your printer’s control panel or the HP Smart app on your computer.
- Step 2: Check the ink levels. If the black ink is low, replace the cartridge.
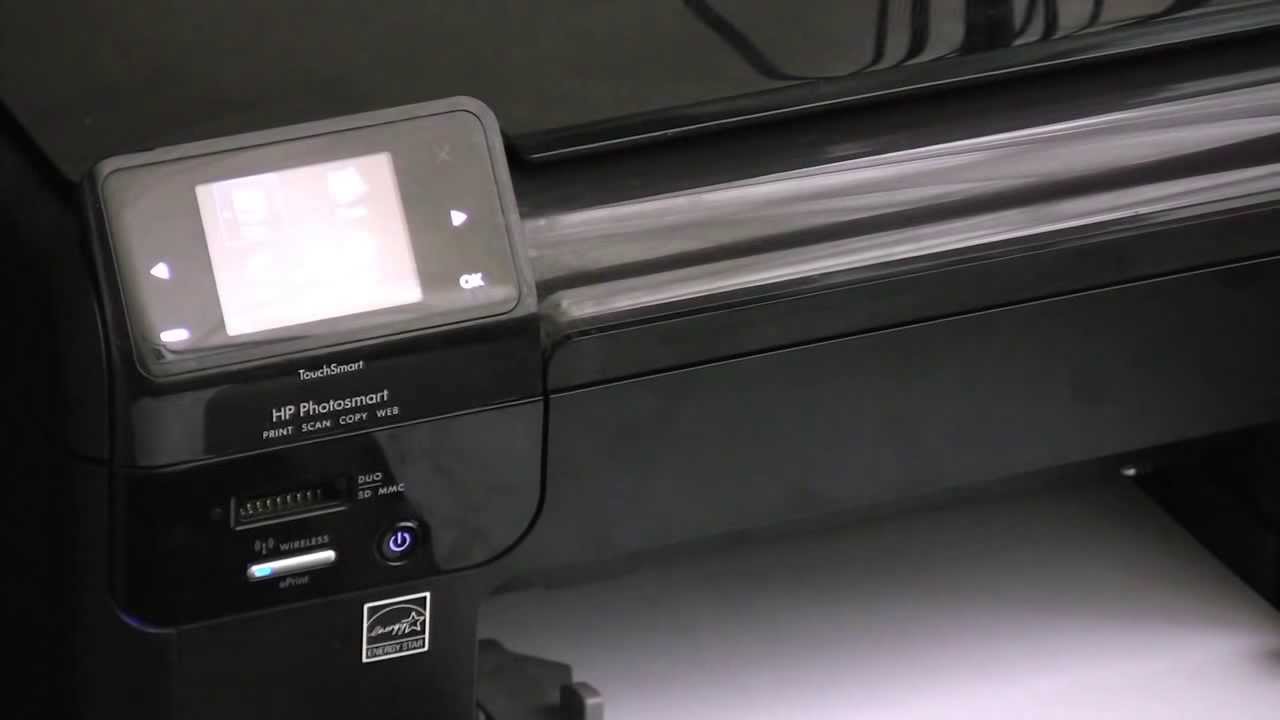
2. Print Quality Diagnostic Report
HP printers often come with built-in tools for diagnosing print quality issues. Here’s how to use them:
- Step 1: Print a Print Quality Diagnostic Report from the printer’s control panel or software on your computer.
- Step 2: Examine the report for any issues, such as missing lines, streaks, or faded areas.
- Step 3: The report may provide specific recommendations to address the problem.
3. Clean the Printhead
A clogged printhead can lead to poor black ink quality. To clean it:
- Step 1: Access your printer’s settings or control panel.
- Step 2: Find the ‘Maintenance’ or ‘Tools’ option.
- Step 3: Choose ‘Clean Printhead’ and follow the on-screen instructions.
4. Use Genuine HP Ink Cartridges
Using genuine HP ink cartridges is essential for maintaining print quality. Counterfeit or third-party cartridges may cause printing problems. Ensure you’re using authentic HP cartridges for optimal results.
5. Align the Printhead
Print misalignment can result in poor print quality. To align the printhead:
- Step 1: Access your printer’s settings or control panel.
- Step 2: Find the ‘Maintenance’ or ‘Tools’ option.
- Step 3: Choose ‘Align Printhead’ and follow the on-screen prompts.
6. Adjust Print Settings
Sometimes, print quality issues can be resolved by adjusting the printer’s settings:
- Step 1: Access your printer’s settings on your computer.
- Step 2: Modify the print quality to ‘Best’ or ‘High Quality’ to ensure darker, crisper prints.
7. Update or Reinstall Drivers
Outdated or corrupted printer drivers can lead to print quality problems. Here’s how to address this:
- Step 1: Uninstall the existing printer drivers on your computer.
- Step 2: Visit the HP website and download the latest drivers for your printer model.
- Step 3: Install the new drivers and restart your computer.
8. Use the HP Print and Scan Doctor
HP provides a free tool called the HP Print and Scan Doctor, which can diagnose and solve many printer issues. Here’s how to use it:
- Step 1: Download and install the HP Print and Scan Doctor from the HP website.
- Step 2: Run the tool and follow the on-screen prompts to identify and fix printing problems.
9. Perform a Hard Reset
In some cases, performing a hard reset can resolve print quality issues:
- Step 1: Turn off your printer and unplug it from the power source.
- Step 2: Leave it unplugged for a few minutes to discharge any residual power.
- Step 3: Plug it back in, power it on, and attempt a test print.
When your HP black ink not printing , it can be frustrating, but most issues can be resolved with these detailed solutions. By checking ink levels, using genuine cartridges, cleaning the printhead, and adjusting settings, you can enjoy crisp, clear black prints once again. If problems persist, don’t hesitate to reach out to HP customer support for further assistance. Keeping your HP printer in top shape ensures you get the best results with every print job