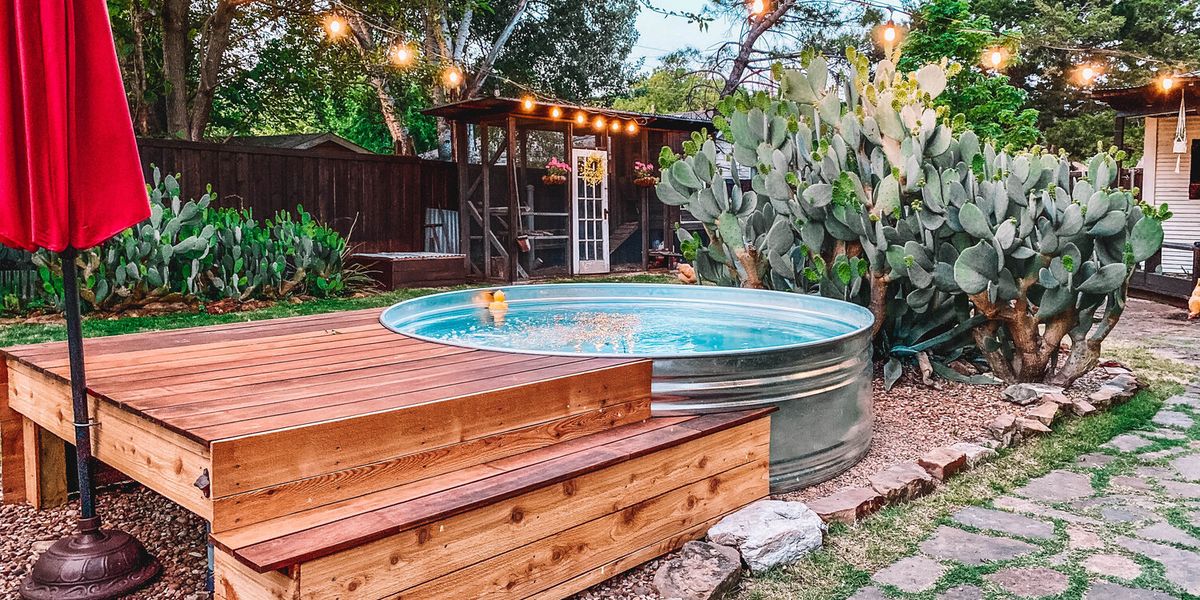
Installing a DIY pool kit can be a rewarding project that can save you money compared to hiring professionals to build a pool for you. However, it’s a significant undertaking that requires careful planning, hard work, and a basic understanding of construction. Below are general steps to guide you through the process of DIY pool kit installing . Keep in mind that the specific instructions may vary based on the type of pool kit you purchase (e.g., above-ground, in-ground, fiberglass, vinyl liner, concrete).
1. Obtain Necessary Permits:
- Check with your local building department to determine the permits required for installing a pool. Regulations and requirements may vary by location.
2. Select the Pool Type:
- Choose the type of pool you want (e.g., above-ground, in-ground, fiberglass, vinyl liner, concrete) and the size and shape that fits your needs and budget.
3. Prepare the Site:
- Clear the area where the pool will be installed, removing grass, rocks, and debris.
- Ensure the ground is level. For in-ground pools, excavation may be required to create a level area.
4. Install Pool Walls or Frame:
- Follow the manufacturer’s instructions to assemble and secure the pool walls or frame. For above-ground pools, this typically involves connecting and leveling wall panels.
5. In-Ground Pool Installation (if applicable):
- If you’re installing an in-ground pool, this stage may include excavation, setting the pool structure, and creating a foundation.
6. Plumbing and Electrical Work:
- Install the pool’s plumbing system and electrical components (e.g., pool pump, filter, and lighting) according to local codes and the manufacturer’s instructions.
7. Pour Concrete or Set Support Blocks (if applicable):
- In some cases, such as for in-ground concrete or fiberglass pools, you’ll need to pour a concrete footing or set support blocks to create a stable foundation for the pool structure.
8. Install the Pool Liner:
- If your pool uses a vinyl liner, carefully install it according to the manufacturer’s instructions. Make sure there are no wrinkles or air bubbles.
9. Backfill and Compact:
- Backfill around the pool walls or frame with sand or another suitable material and compact it to provide support and prevent shifting.
10. Fill the Pool:
- Begin filling the pool with water, ensuring that it fills evenly and that there are no gaps or voids beneath the liner.
11. Install Pool Equipment:
- Connect and set up the pool’s equipment, such as the pump, filter, and chlorination system.
12. Finish the Surrounding Area:
- Landscape and finish the pool’s surroundings, which may include decking, fencing, or other safety features.
13. Test and Balance Water:
- Test the pool water and add the necessary chemicals to balance the water chemistry.
14. Regular Maintenance:
- Regularly maintain and clean your pool to ensure it remains safe and functional.
Stock tank pool products are essential for maintaining and enhancing the functionality of stock tank pools. Keep in mind that this is a simplified overview, and the specific steps and requirements will depend on the type of pool kit and your local building codes.


